Complete Anatomy
Windows Manual Installation
1.
Click here to download the latest version of Complete Anatomy.
2.
Navigate to the directory where you downloaded the file (usually Downloads).
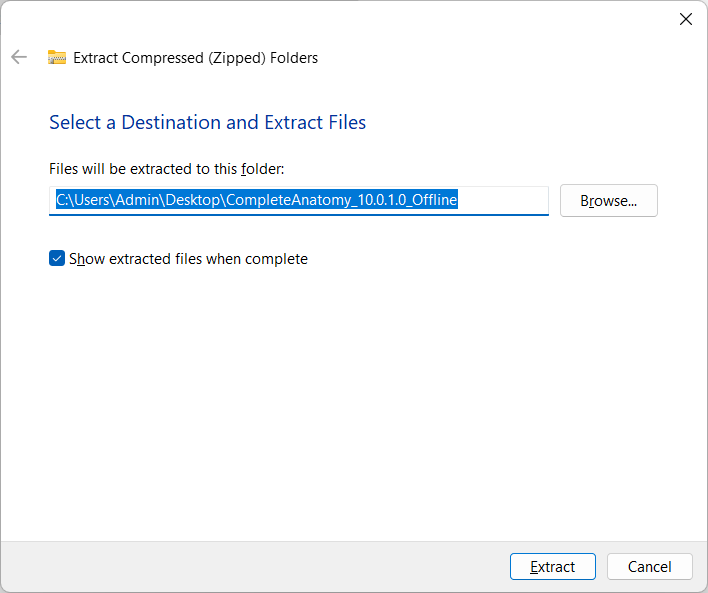
3.
Right-click on the file and choose Extract All ... (Make sure Show extracted files when complete is checked. Then click Extract.
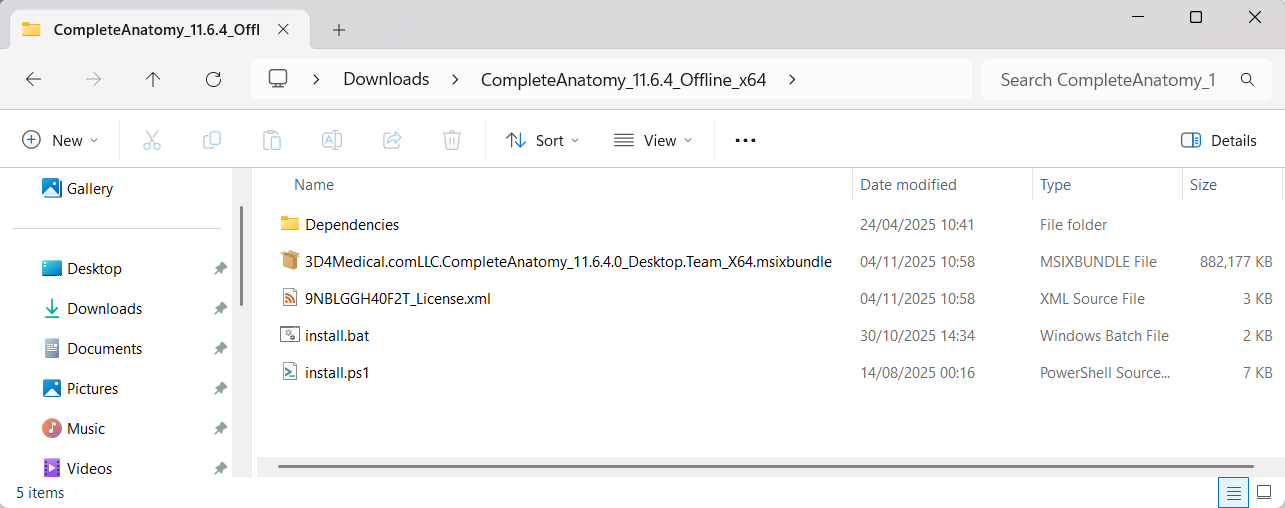
4.
You should now see the extracted files, as below:.
5.
Process with the package installation through install.bat with the desired option:

a)
For local user installation you don’t need evaluation, simply launch the script and follow the steps.
b)
For SCCM OS-wide installation proceed with administrator rights (advanced SCCM installation look here):
c)
For silent installation with either option use:
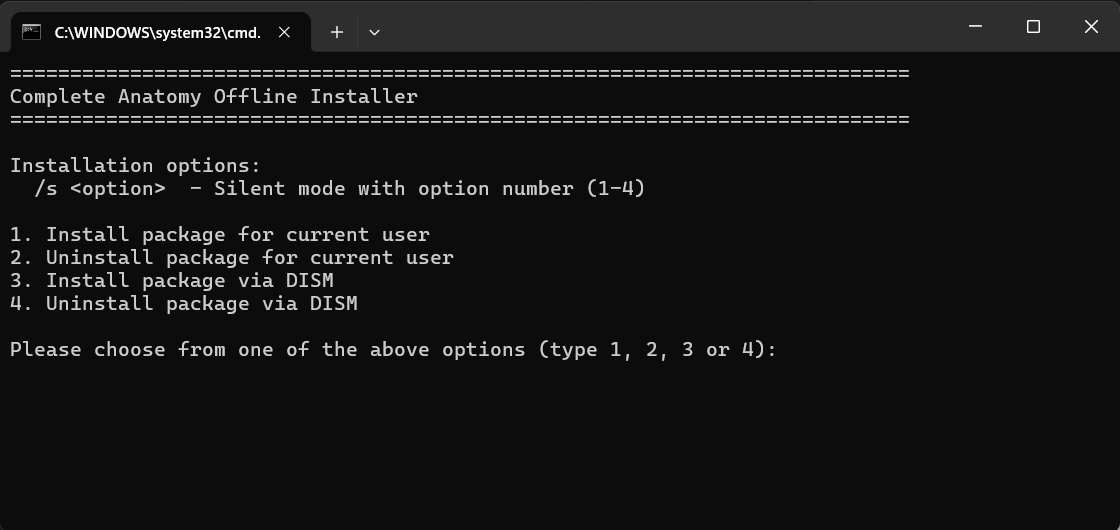
install.bat /s <option number>. To observe available options, launch install.bat or take a look at the next step.6.
Choose one of the available options:
7.
Wait for the installer to finish. Complete Anatomy should now be available in the Start Menu.
Looking for instructions for SCCM? Get instructions here.