Bone Parts, Surfaces & Landmarks
View the bony landmarks of the Skeletal system using the Parts, Surfaces, and Landmarks tools
JUMP TO CATEGORY
Access the Tools
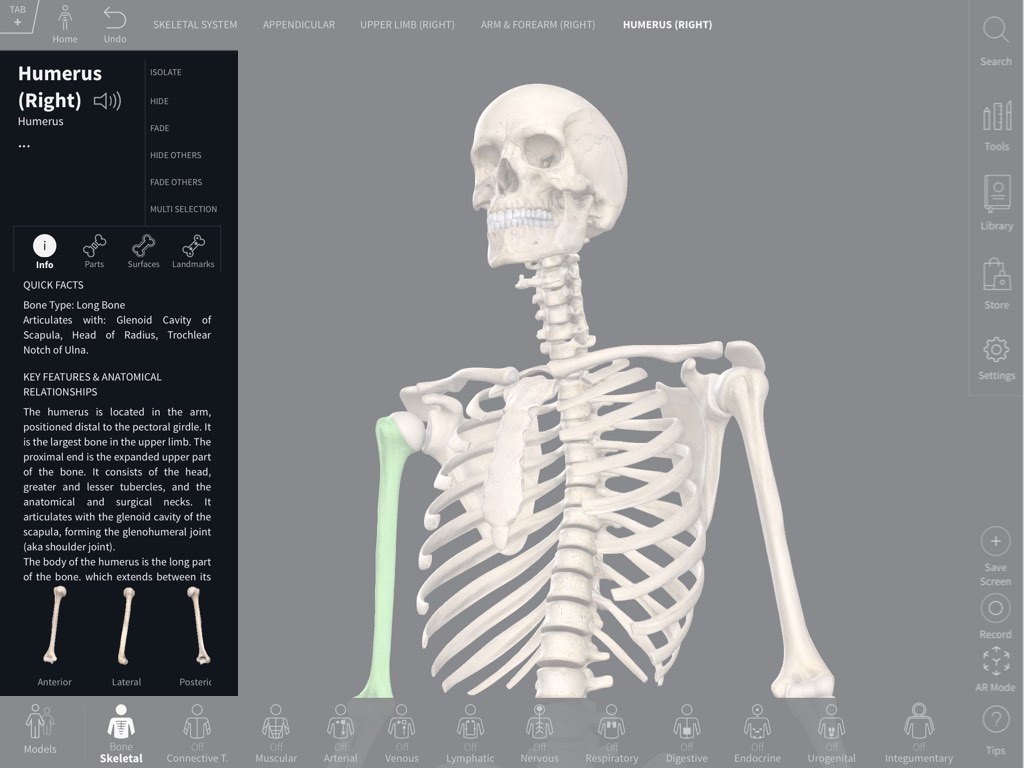
To access these tools, choose a bone from the model. The info panel for that structure appears on the left of the screen. Under the title of the structure you will see the detailed information available for that structure.LINK TO THIS STEP
Select a Part, Surface or Landmark
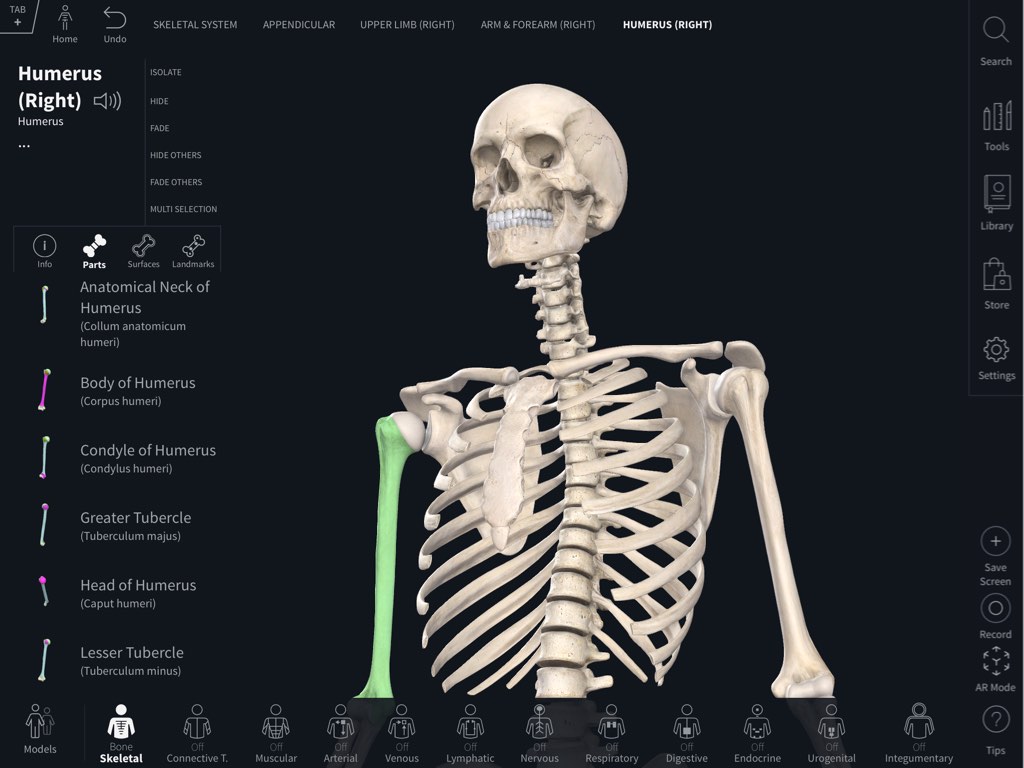
Select the Parts, Surfaces, or Landmarks icon to view a list of options. Choose an item from the list which appears below. You will be taken into Isolate Mode to view the Part, Surface, or Landmark more clearly. Your selection will be highlighted on the model, and additional information is displayed in the info panel. Continue to explore the landmarks by selecting either the model, or an item in the list.LINK TO THIS STEP
Go Back
Click or tap anywhere outside of the infobox to return to the main screen.LINK TO THIS STEP

Turning on Parts, Surfaces and Landmarks for the whole Skeletal system
The Parts, Surfaces, and Landmarks can also be accessed from the System Menu on the bottom of the screen. Hit the Skeletal icon in the System Menu, then press the plus button. Select the icon once to reveal the Bone Parts, and a second time to reveal the Bone Surfaces. Select the icon a third time to reveal the Landmarks.LINK TO THIS STEP
Return to default texture
Pressing the minus icon next to the Skeletal system icon returns the model to the default skeletal texture.LINK TO THIS STEP
Access Landmark Layer Maps
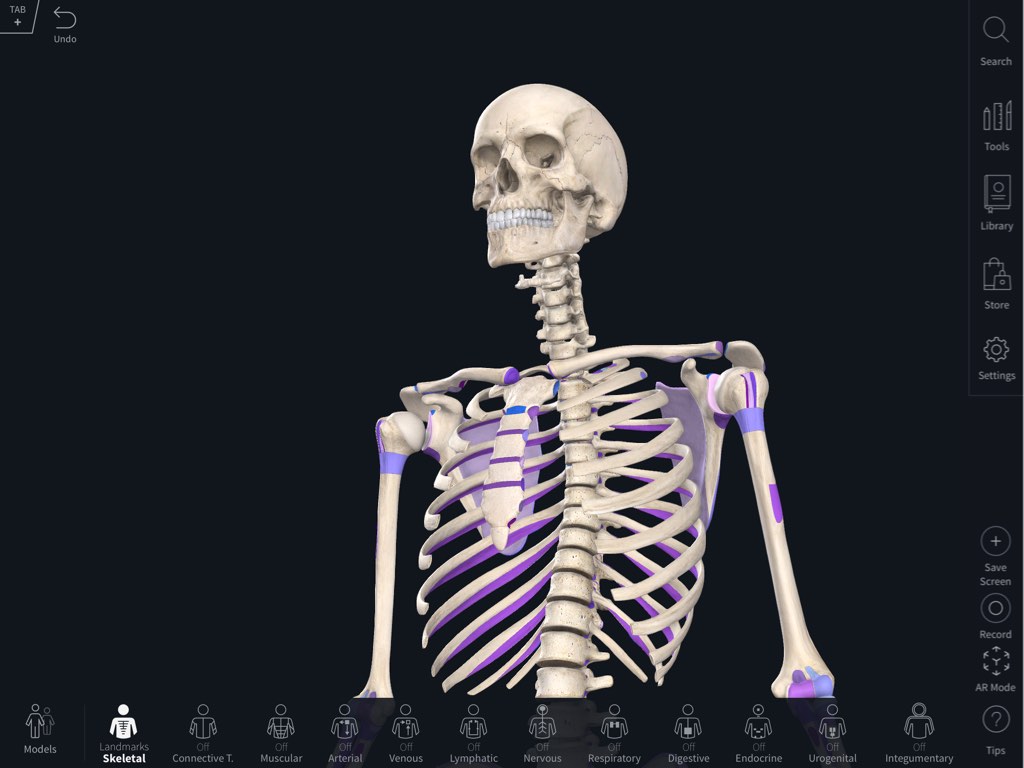
Parts and Surfaces are available as layers of the Skeletal System, which show a map of all bony landmarks across the full skeleton. Tap the Skeletal System Icon, and press the Plus or Minus buttons until you come to the Parts or Surfaces layers (the second and third layers of the system). To hide the parts and surfaces, tap the Skeletal System icon and press the Minus button.LINK TO THIS STEP