NEW WEB EXPERIENCE
Discover our 3D models right in your browser
Labels
Attach labels to highlight and save your view of a structure
iPad, Mac, and Windows feature
JUMP TO CATEGORY
Viewing Labels

Select a Label
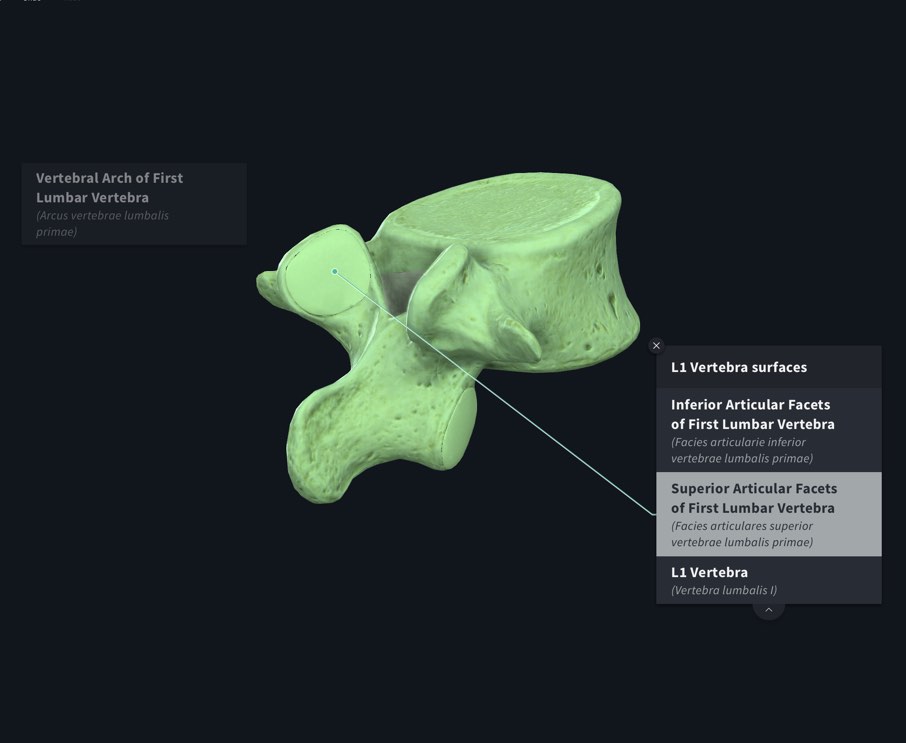
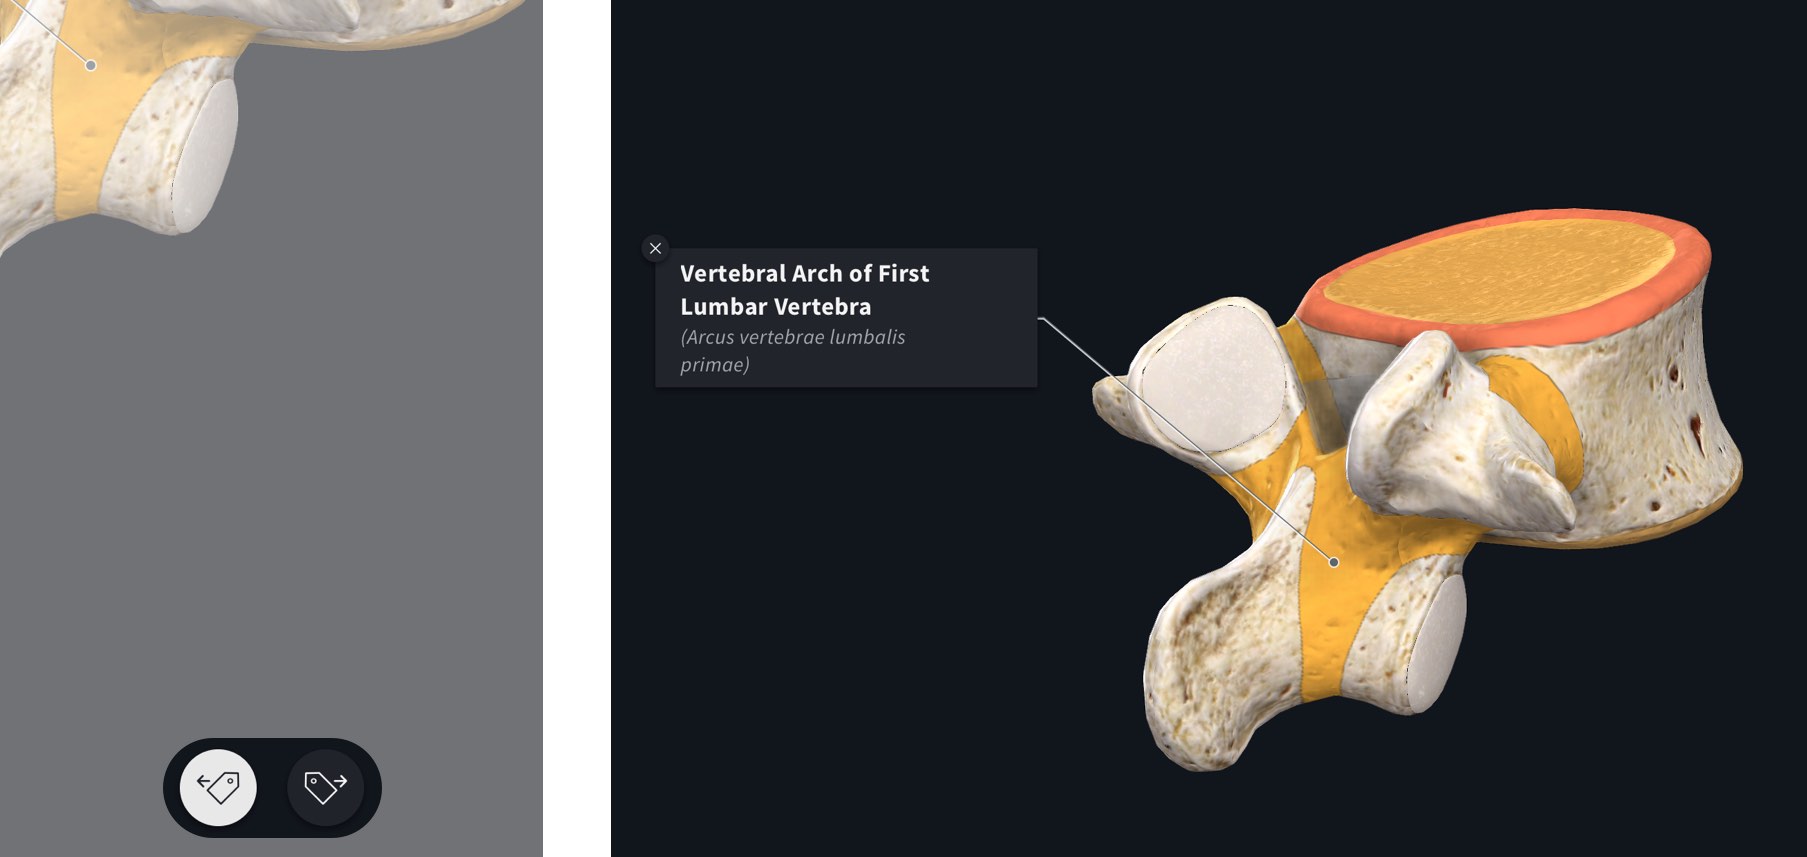
Hit a Label to highlight the attached structure. The model will rotate to the position the model was in when the label was attached, to give you the most appropriate view of the structure.LINK TO THIS STEP

View Label Information
Select the tab on the bottom of the Label to view the information about the related structure. Hit the tab again to hide the expanded view.LINK TO THIS STEP

Group Labels
If an expanded label shows a list of structures, it is a Group Label. Scroll through and select each label within the group to identify the structures.LINK TO THIS STEP
Using Labels

Accessing the Tool
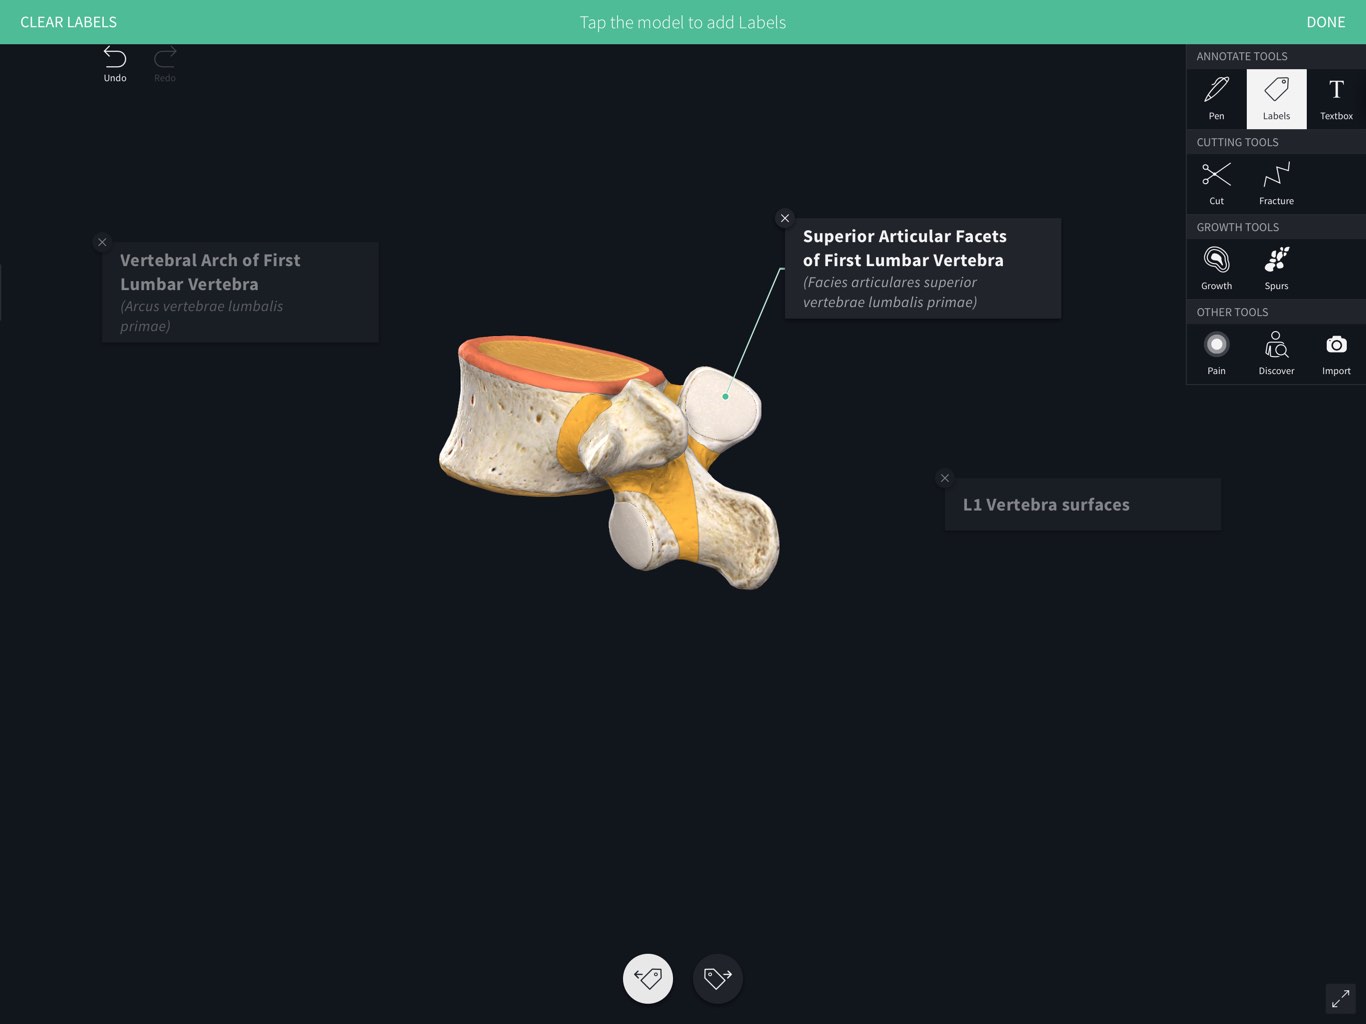
Set up the model in your required position, and select Tools from the Main Menu on the right-hand-side of the screen. In the Tools menu, select Labels.LINK TO THIS STEP

Adding Labels
Tap on a structure on the model to label it. Drag the label to move it around the screen.LINK TO THIS STEP

Choosing Sides
Choose which side of the model the label will appear on using the options at the bottom of the screen.LINK TO THIS STEP

Custom Labels
Double-tap a structure to add a custom label, allowing you to type in your own note or description. Note that selecting a custom label will prevent the structure description from appearing.LINK TO THIS STEP

Group Labels
Hold down anywhere on the screen to create a Group Label. The Label will appear where you hold down, so you can position it wherever is best for you. Continue tapping structures to add them to the label list. When you’ve finished adding structures, tap ‘Save’ in the top right corner of the screen.LINK TO THIS STEP

Remove Label
Remove individual labels by tapping the delete button located in the top left corner of the label.LINK TO THIS STEP

Rotating the Model
To rotate or zoom into the model, tap Done in the top right corner and navigate the model as normal.LINK TO THIS STEP

Adding Extra Labels
You can continue to add Labels after rotating the model by selecting Labels from the Tools menu. This allows you to create multiple saved positions that you can move between by selecting different labels.LINK TO THIS STEP

Clear
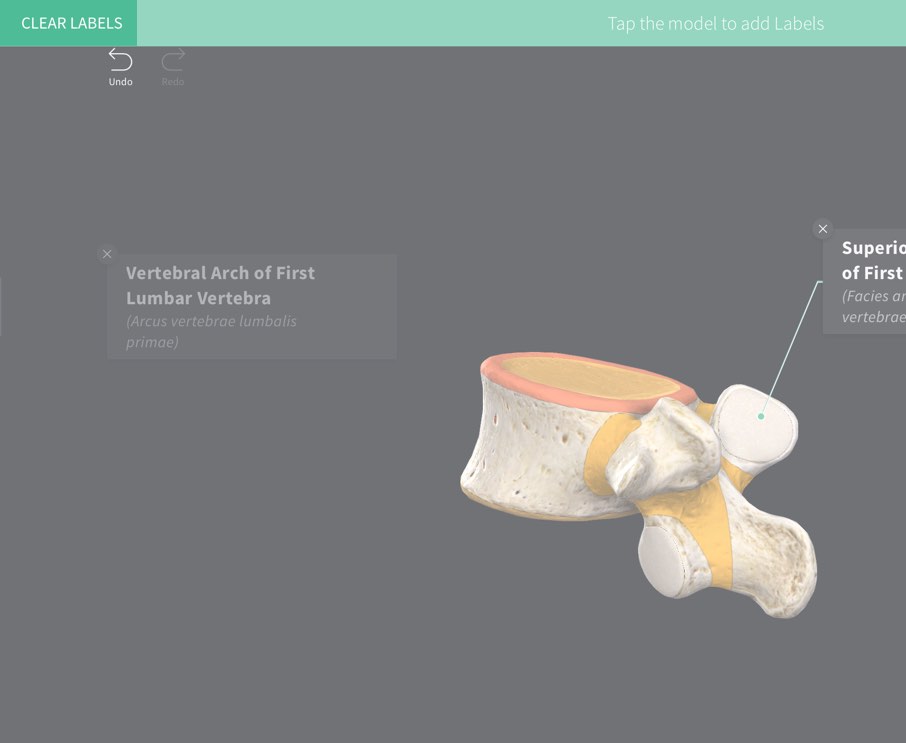
When using the Labels tool, tap the ‘Clear Labels button in the top left corner of the screen to remove all labels. At any point, select the ‘Clear’ button in the top left corner of the screen, and select to Clear Labels or to Clear All.LINK TO THIS STEP