Sharing with Groups
Set up a Group with friends or colleagues to share and organise the content you create
JUMP TO CATEGORY
Overview
Think of groups like folders for storing Quizzes and Screens (interactive bookmarks). Groups can be kept private to you, or you can share them with any other Complete Anatomy user.LINK TO THIS STEP
Access Groups
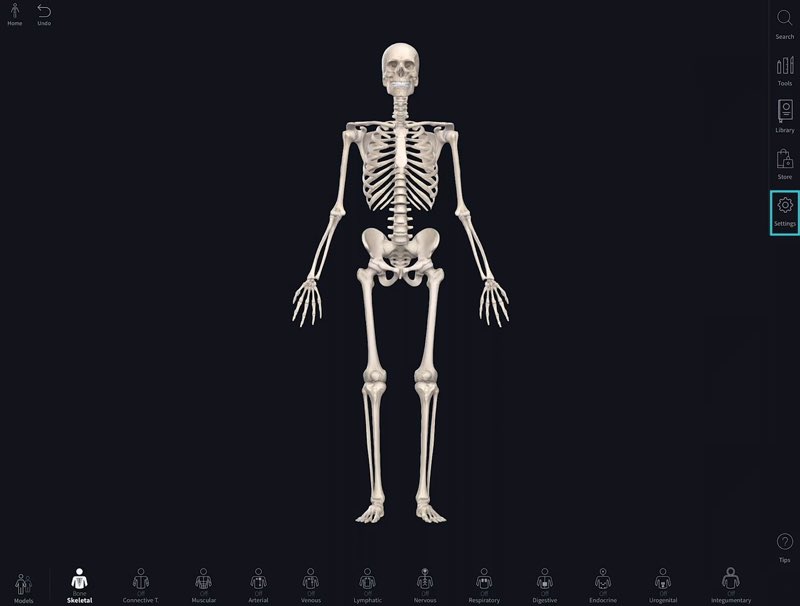
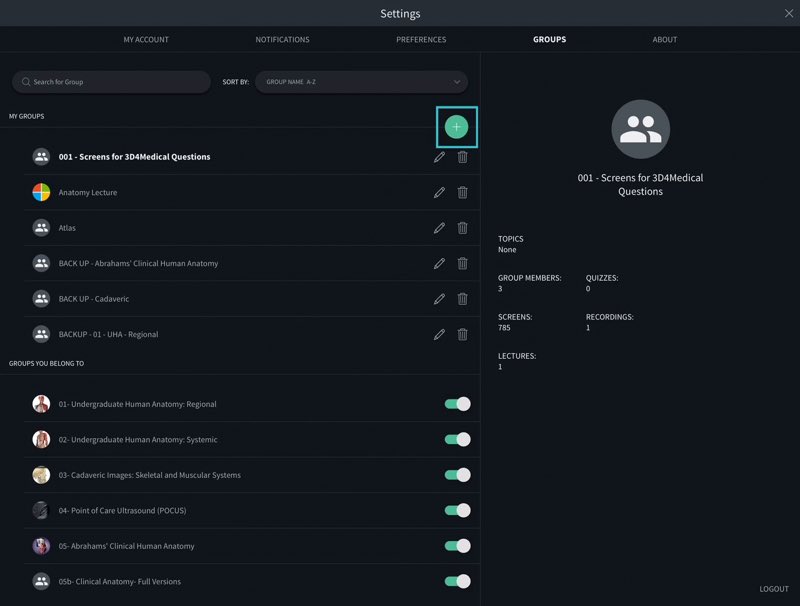
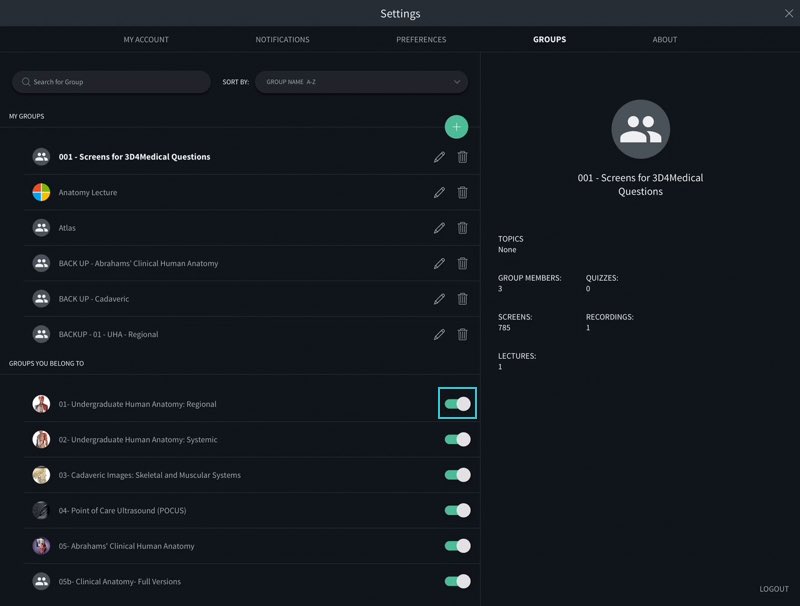
To access Groups, select the Settings button on the right-hand side of the screen. Within the Settings panel, select the Groups tab. Within this tab you can see two lists of groups, one containing your Groups and the other containing the Groups you belong to.LINK TO THIS STEP
Create a Group
Select the green Plus button in the Groups tab to create a group. This will open a window prompting you to input the various details of the group, including name, description and avatar. Submit these details by selecting Create. In the next window you can add members. If they are a 3D4Medical member, they will show up once you search their name or email address. You can make them Admin by selecting the Make Admin button beside their name. Making someone an Admin allows them to edit the content in that Group.LINK TO THIS STEP
Accept a Group Invitation
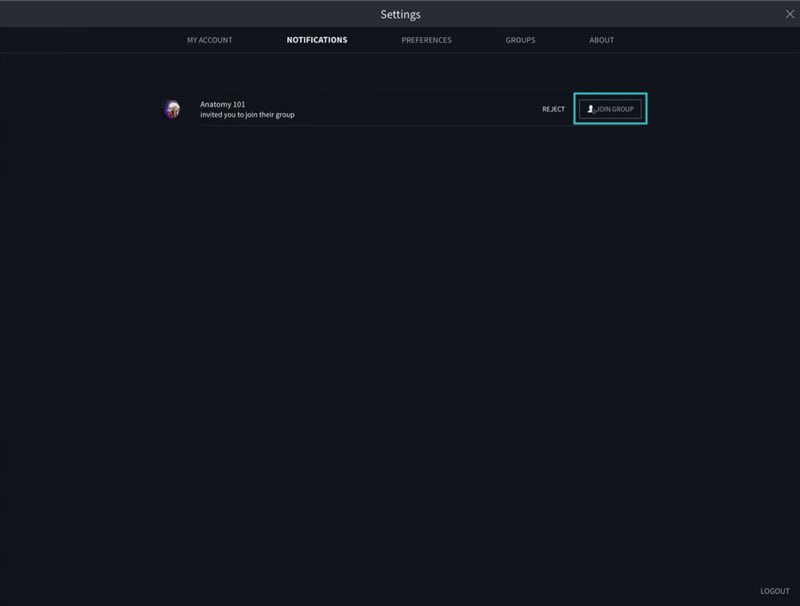
Once you are invited to a Group by another member, you can accept this invitation in your Notifications. To access your Notifications, press the Settings button on the right-hand side of the screen and navigate to the Notifications tab. From here you can accept the group invitation.LINK TO THIS STEP
Leave a Group
To leave a Group, simply go to the Groups tab in your Settings and turn the switch off beside that group.LINK TO THIS STEP
Add a Screen to a Group
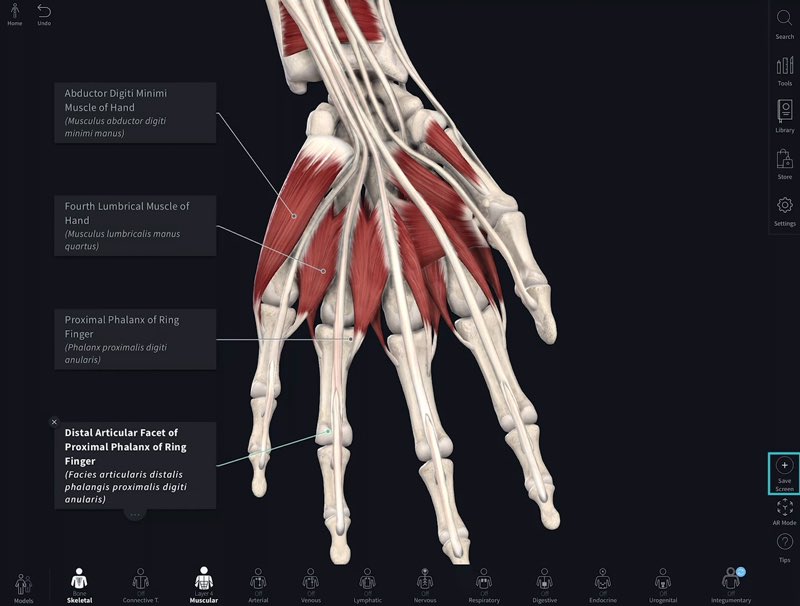
You can easily add Screens to a Group. Set up the model view you want to save and press the Save Screen button on the right-hand side of the screen. Once the Screen is assembled, a new window will open prompting you to fill in the details for that screen, including Screen Location — this is where you select the Group your screen will be saved to. To share Screens you’ve made previously, navigate to the Content tab in your Library and hit the mini-menu on your chosen Screen. Here you can choose to copy this Screen to any group of which you’re an Admin.LINK TO THIS STEP